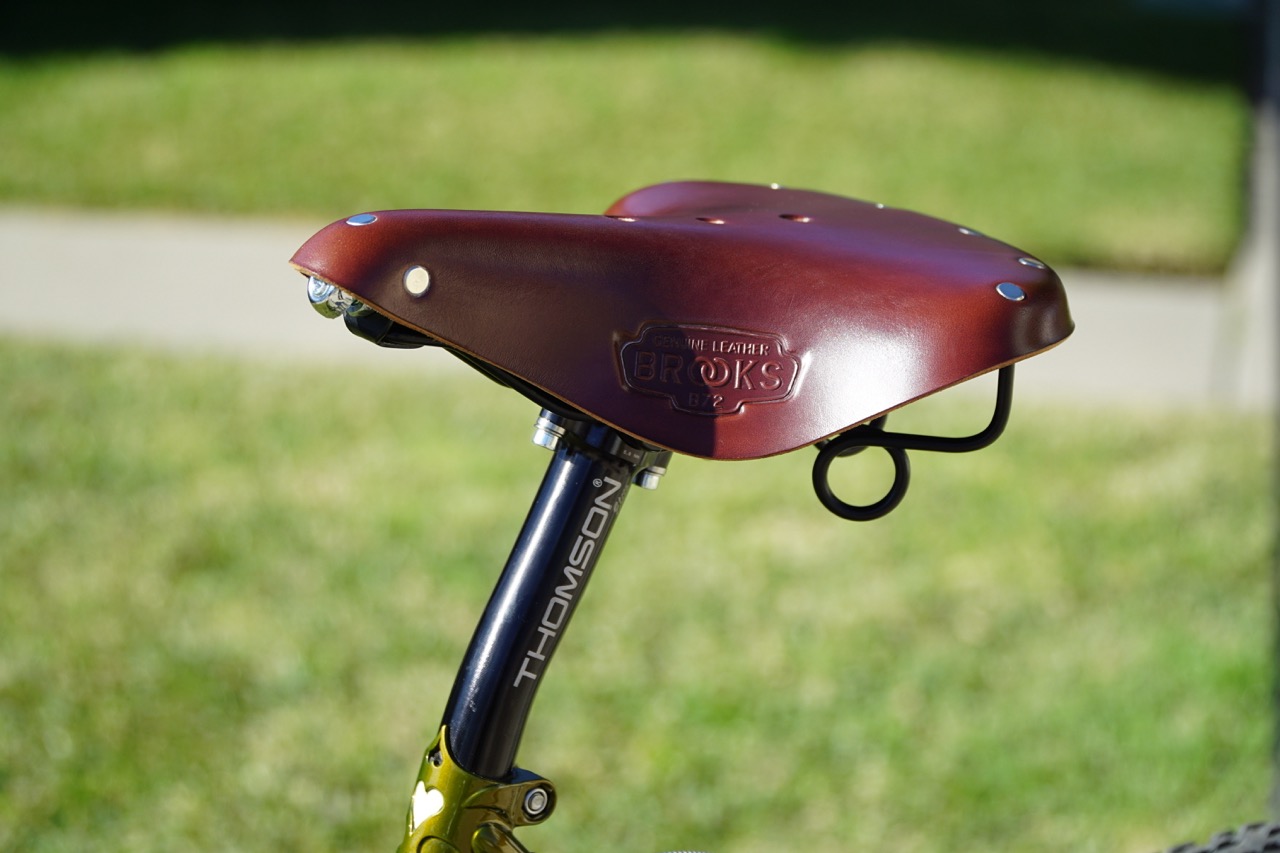
Back in December, I shared a story about a saddle. Longtime leather saddle maker, Brooks England, was putting the iconic B72, back into production.
After the story went live, Brooks reached out and asked if I’d like to review one of those saddles. I thought it would look pretty sick on my Rivendell Gus Boots Willsen, so I accepted.
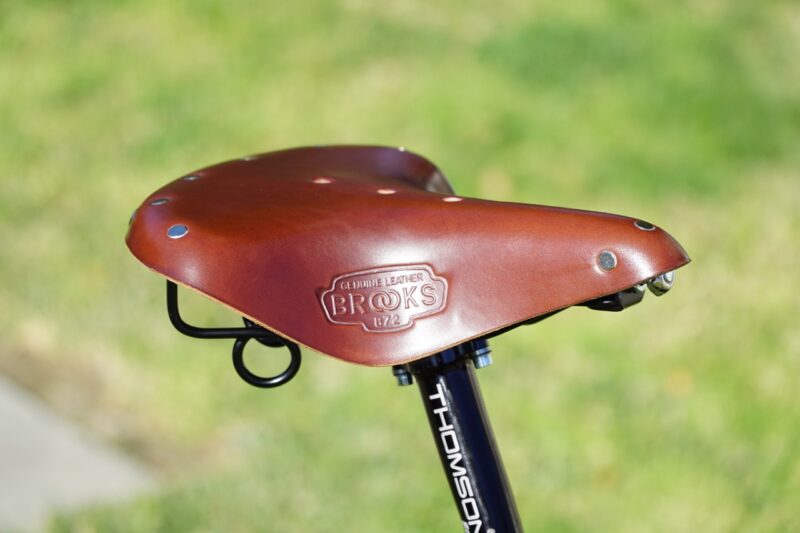
The B72 is made for an upright riding position, say for the casual tourer, or riding around and runnin’ errands in the city. It’s also a very good fit for classic bicycles.
During the birth of mountain biking, it was the popular saddle choice of those early dirt daredevils flying down Mt Tamplapais in the late 70s, clinching the B72’s spot in MTB history.
I felt that it would be a great fit for my mountain bike (ATB?), so let’s get it installed.
First Impressions of the Brooks B72
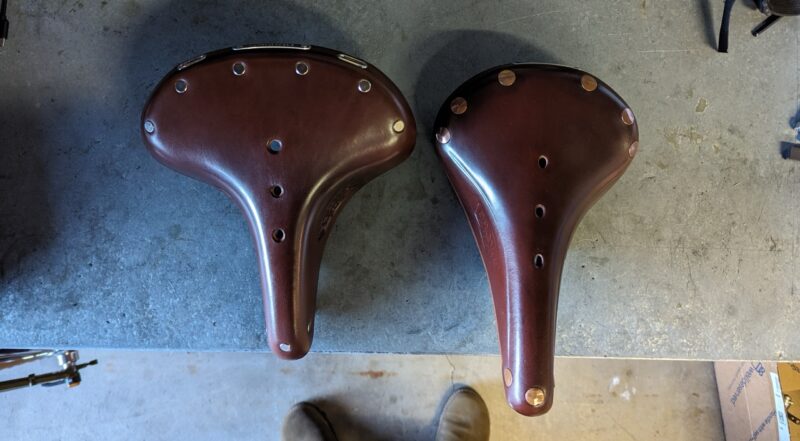
The first thing I noticed when I opened the box was the shape of the B72. Its shape was quite different than my B17’s shape. the B17 Special is my “go-to” saddle, and I use it on all of my bikes.
On my Gus Boots, the B72 will be replacing the B17, so shape is important. The width of my B17 Special is 175mm as compared to the B72’s width of 205mm. The length difference is also substantial, with the B72 being a lot shorter at 260mm to the B17’s length at 275mm.
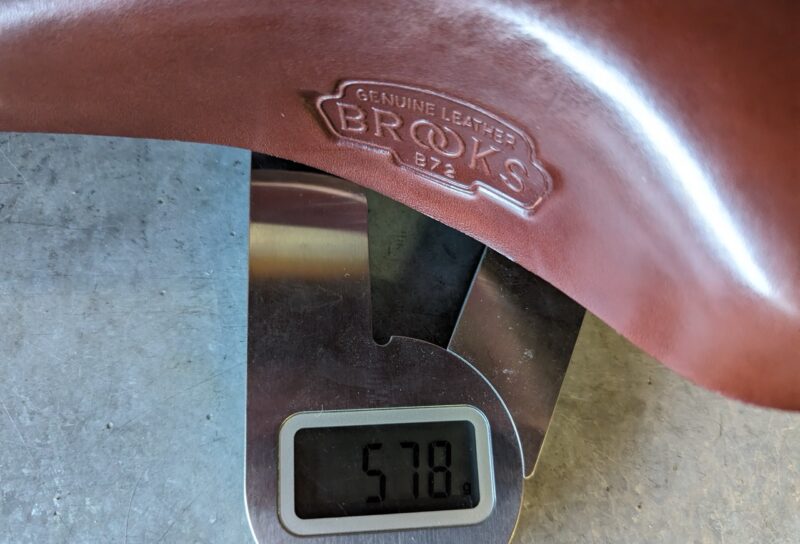
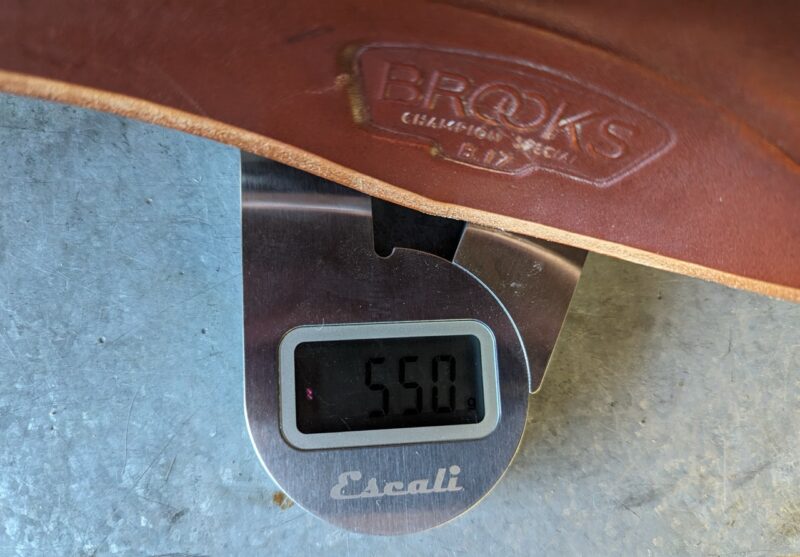
I feel like the difference in length between the saddles won’t be as crucial in my riding as the width. Will it be a lot less comfortable getting off the back of the B72 on steep descents, than the B17? We’ll see. There is a slight weight difference (28g) between the B72 (578g) and B17 (550g).
I think the B72 would look cool with the B17 Special’s style of hand-hammered brass rivets as opposed to the more standard tubular steel rivets that came on the B72. But the black powder-coated rails and frame look great on the B72.
Installing the Brooks B72
Installation would be easy enough, although a little more involved than a standard Brooks saddle install. The reason is, that the Brooks B72 is a suspended saddle with springs, so it utilizes dual rails.
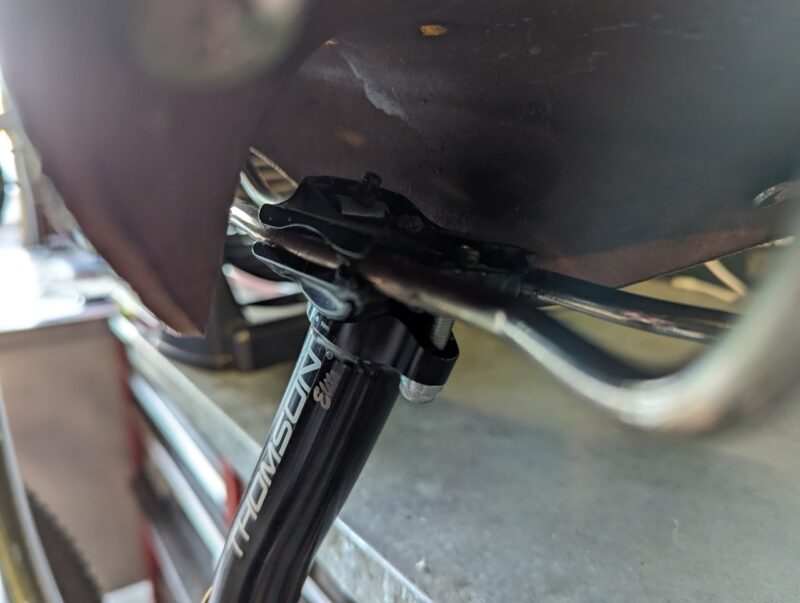
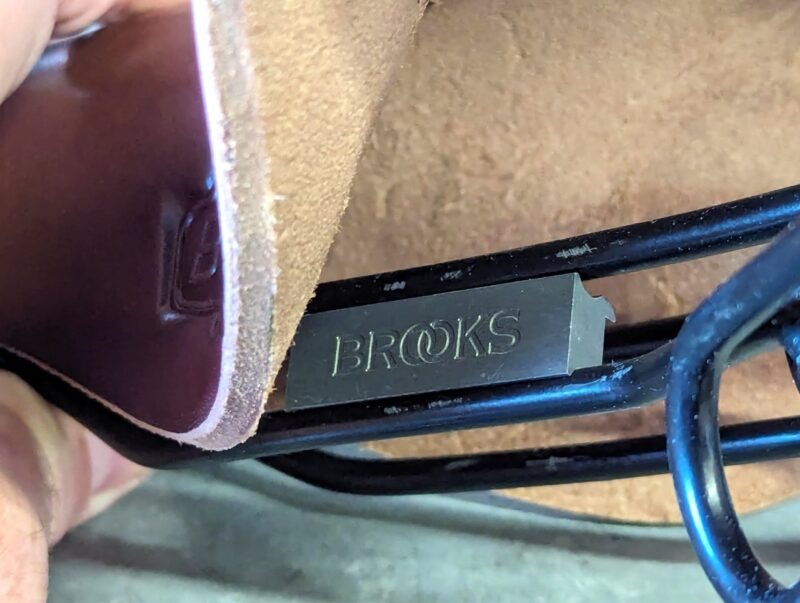
This means that I had to get the Brooks Sandwich Seat Adaptor to install the saddle correctly. Above you see the differences between the standard Brooks single rail and the double rail (with the Sandwich Adaptor) when installed.
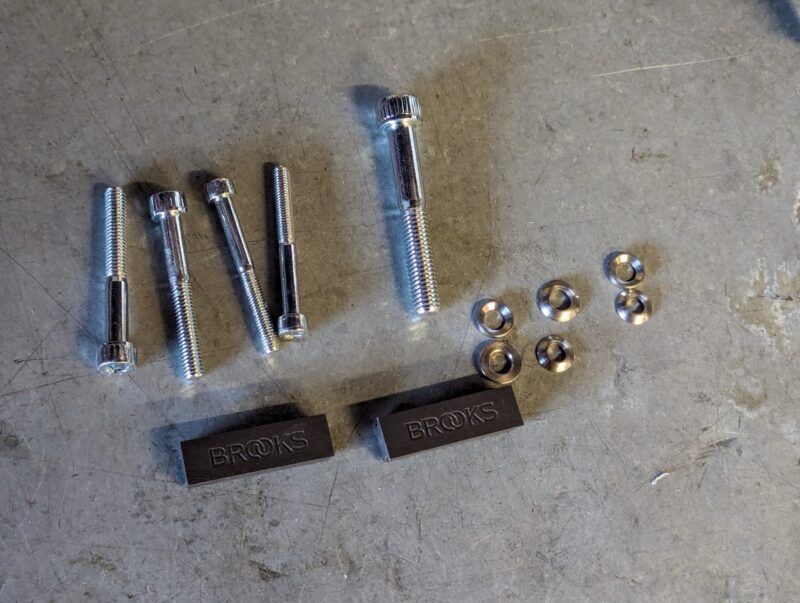
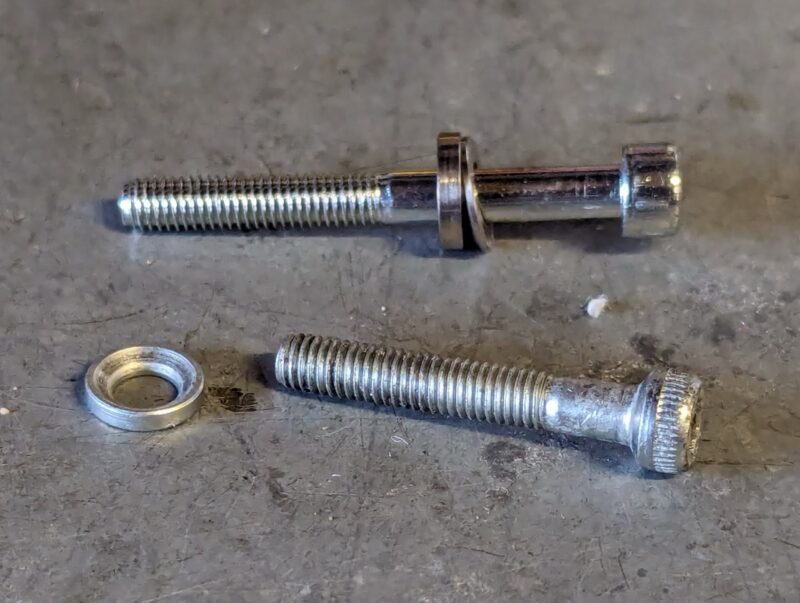
The Sandwich Adaptor came packaged with all of the hardware that was needed to do the installation. A Brooks double-rail saddle will need longer bolts than your modern post uses, so you’ll need to swap them out. The Sandwich Adaptor is a great way to fit your classic saddle to your modern seatposts.
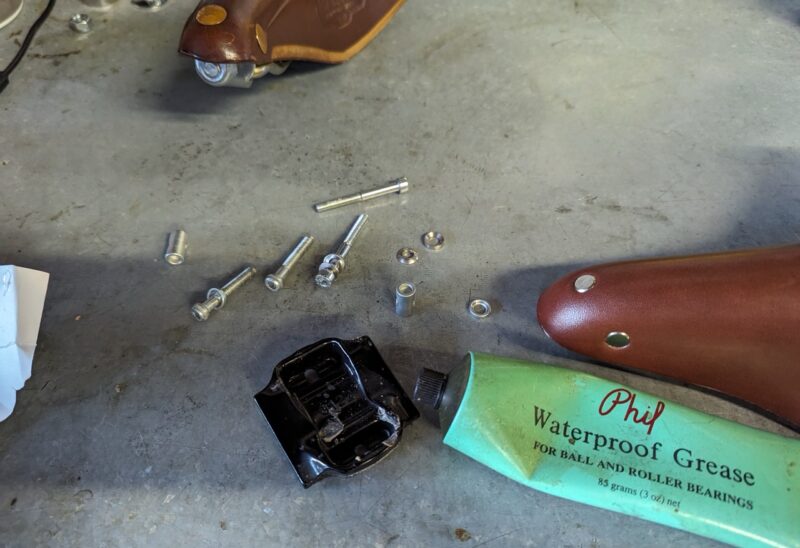
After I got the adaptor in place, it was just a matter of making sure the rails stayed vertical and centered while tightening the clamp on the seat post. Easy peasy.
Use the Supplied Proofide
Every leather saddle that you buy from Brooks will come with the tool to tighten or loosen the amount of “suspension”. It also comes with a little package of Proofide. Don’t discard that little package.
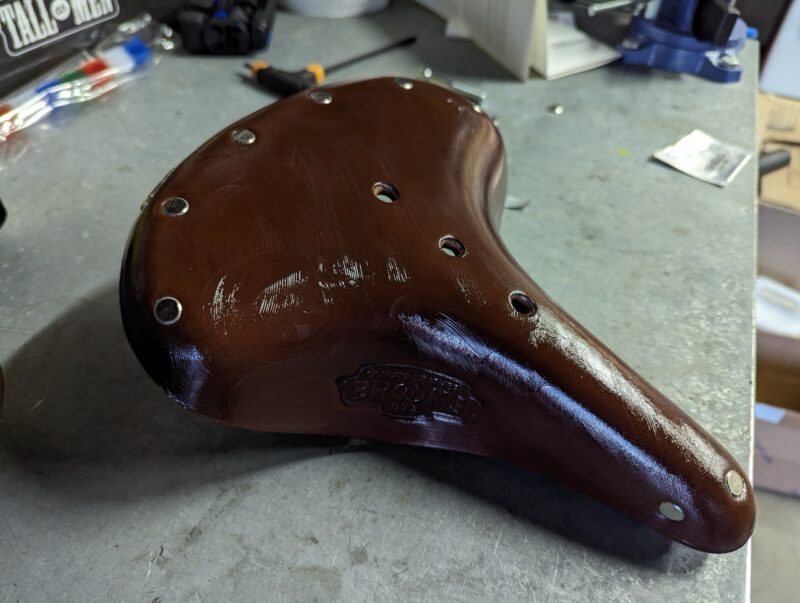
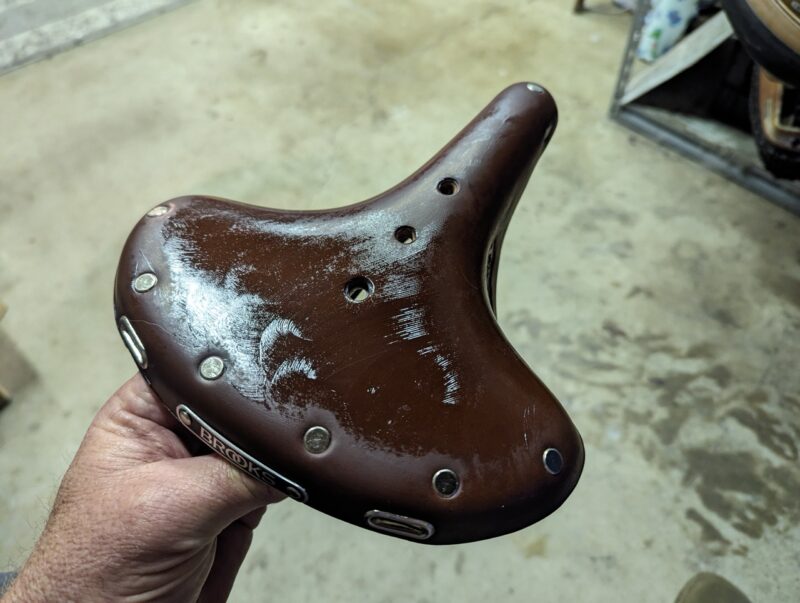
Proofide is a product from Brooks that helps with the break-in process of the leather, and to waterproof the saddle. It’s a bit of a game, but if you use it wisely you should be able to do the top and the underneath of the saddle.
Hint: a little goes a long way… seriously. Just apply it with your fingers and let it sit and dry. Once the saddle starts to dry, you’ll see leather take a matte look on top which means the Proofide is dry.
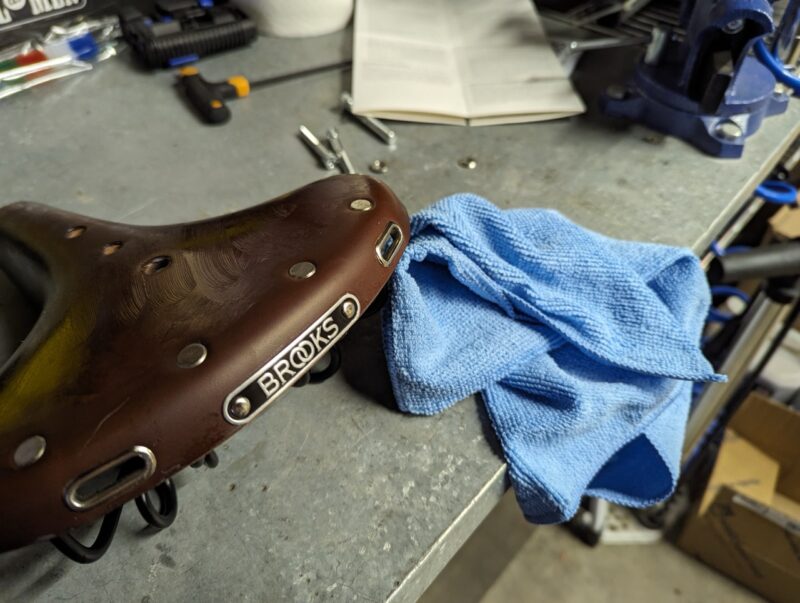
Once the whole saddle looks matte, get a cotton rag and buff it clean. Done. Leave the underside of the saddle alone.
Once you use the packet, you’ll need to buy yourself another lil’ tub for the yearly touch-ups. It doesn’t just waterproof your saddle, it keeps the leather supple and speeds the “break-in” time.
First Ride on the B72
I’ve only had an opportunity to ride the saddle once, on one of my favorite loops. It’s a loop that I often use for testing and reviews. I’ve been riding this 12-mile loop for more than 25 years, so it’s easy for me to tell when something I do to my bike has changed or different, for better or for worse.
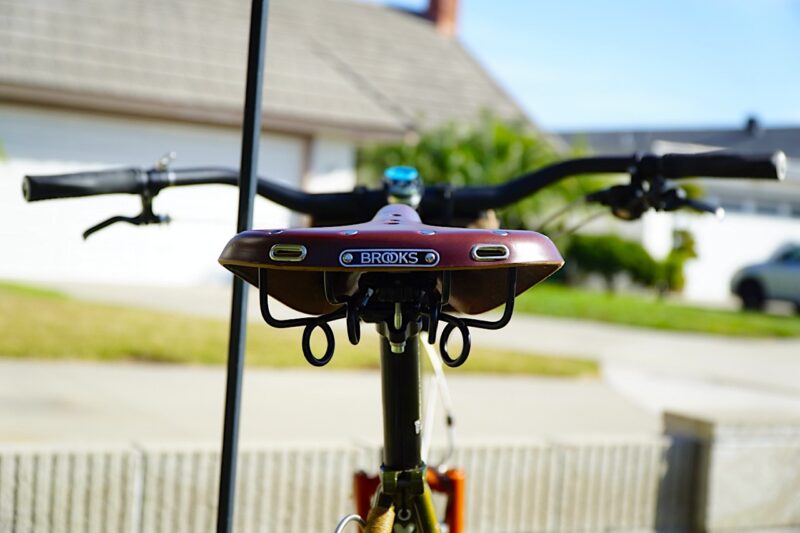
While riding the flat parts and climbing the few long climbs of this loop, I could feel the springy difference when compared to my B17. It was comfortable while lollygagging down the trail, doing its job soaking up some of the smaller bumps.
Where I found the biggest difference between the B72 and B17, was where I thought I would – the shape of the saddle. I found it very uncomfortable to “get off the back of the saddle” on the few steep, technical descents that my loop offers.
Form over Function
Other than comically bowing my legs out to get off the back of the saddle, the B72 operated well on the trail. It is a very comfortable saddle, and like all of the Brooks saddles I’ve owned, will only get comfier with time.
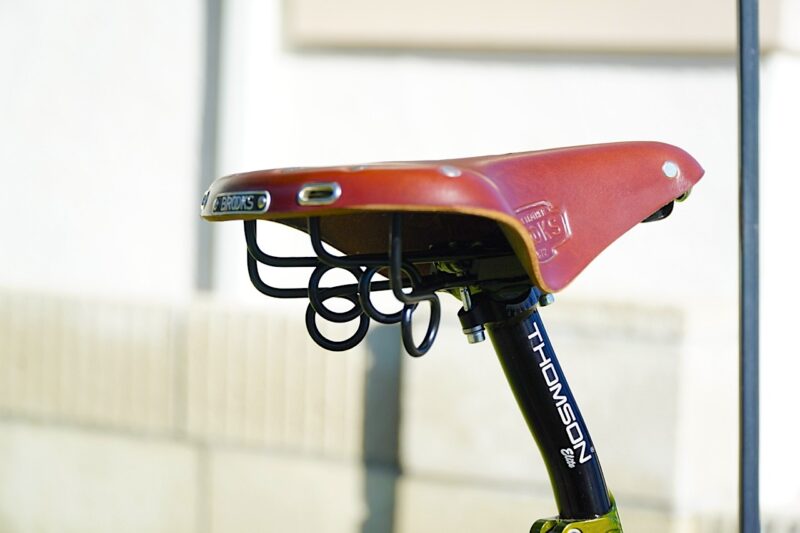
I’ll be riding the B72 a ton to get the final result of this review. I’m looking forward to breaking it in and getting to know it. And while aesthetics are important, there is an expectation of performance, even from a looker like the B72. Form and function can live together and don’t need to be mutually exclusive.
And although the B72 is very aesthetically pleasing, as of writing this article the B17 is still my “go-to” saddle
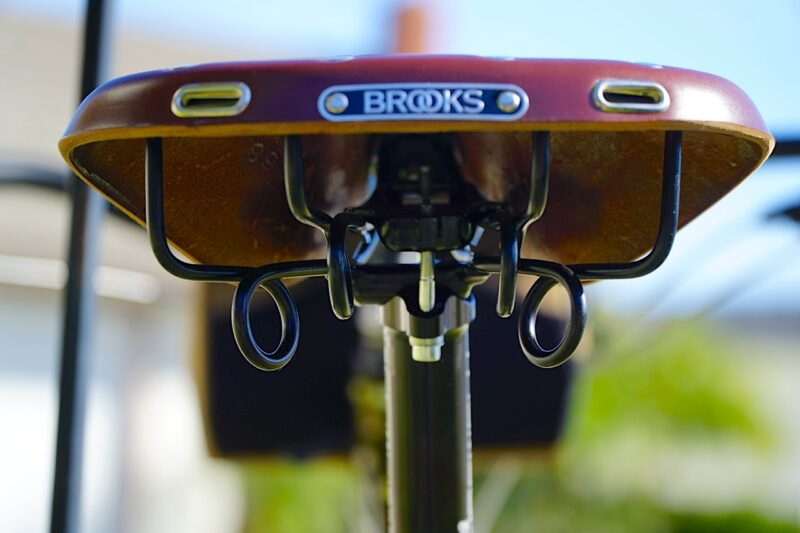
The B72 looks amazing mounted on my Gus Boots Willsen, there’s no denying that. For anyone who is restoring an older mountain bike or even an old Klunker-type MTB, the Brooks B72 saddle would be a wise choice, popping your build to the next level.
Check out all of the saddles and goodies Brooks England has to offer at the link below.
The post First Impressions: Rereleased Brooks B72 Checks in with Wide Perch, Double Rails appeared first on Bikerumor.
from Bikerumor https://ift.tt/pgGhPz8
via IFTTT


0 Comments